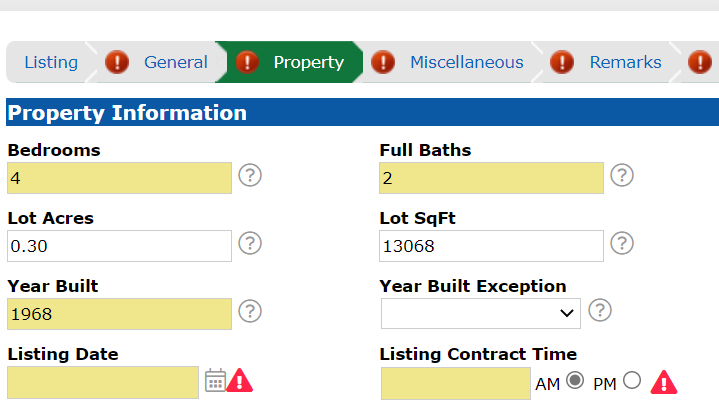
When the button is pressed, it will display an exclamation mark next to the tab that is missing a mandatory field. Once you click on that tab, the triangles with exclamation marks will tell you what field is missing.
The Validate button is especially important when entering a listing that will be put into delayed entry. In order to put a listing into delayed entry, all the mandatory fields must be filled out or the MLS department cannot change it to delayed entry.
The Validate button does not save your listing, nor will it tell you if you have any violations. The Validate button is simply there to highlight incomplete mandatory fields.
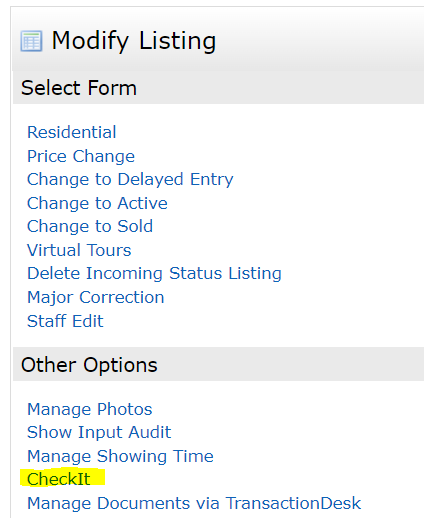
The CheckIt feature will check your listing against the violation system. It will tell you of any system-generated violations. So when you get ready to submit your listing to make it active, go to CheckIt in the edit screen.
At the bottom of the CheckIt screen, you can then "Re-check" the listing in a different status. Why? If you only check it while it's in the incomplete status, not all potential violations will show up. But if you select the active status, for instance, possible violations may appear.
There you go. Now you know the difference between the Validation button and the CheckIt feature!